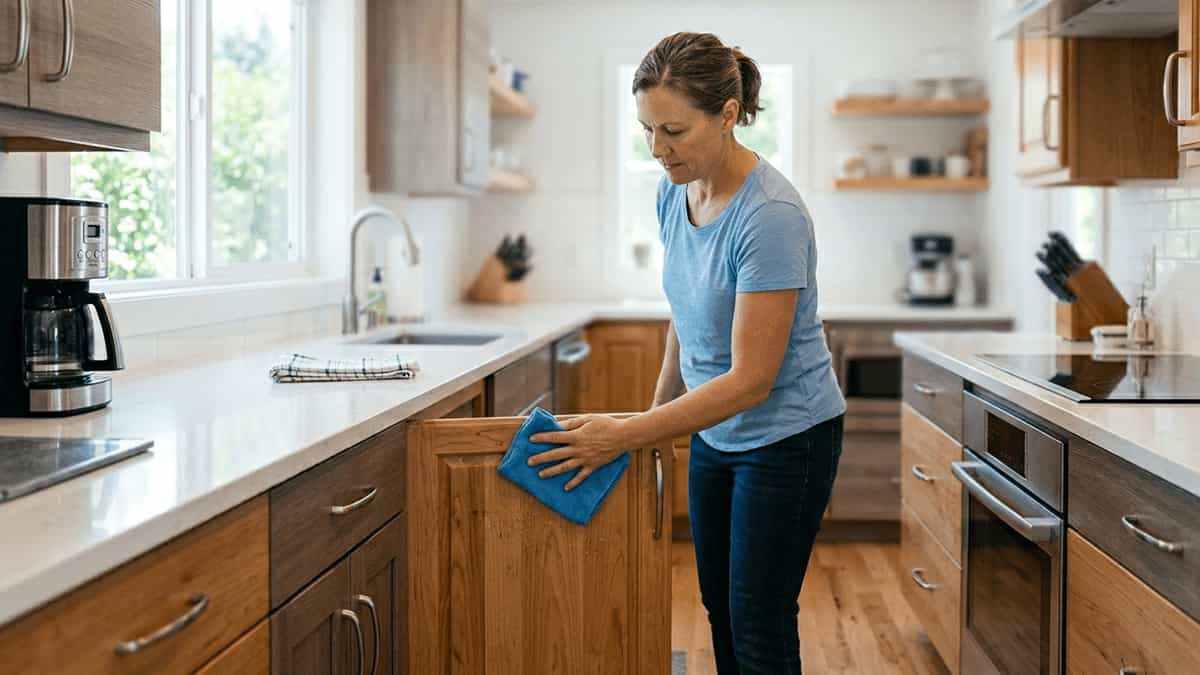
Kitchen cabinets are the workhorses of your home. They endure daily assaults from grease splatters, sticky fingers, steam, and dust. To keep them looking their best and extend their lifespan, proper cleaning techniques are essential.
However, the method you use depends entirely on the material of your cabinets. Using the wrong cleaner—such as water on unsealed wood or abrasive scrubbers on aluminum—can cause permanent damage. Here is your comprehensive guide to cleaning the four most common types of kitchen cabinets safely and effectively.
1. Aluminum Cabinets
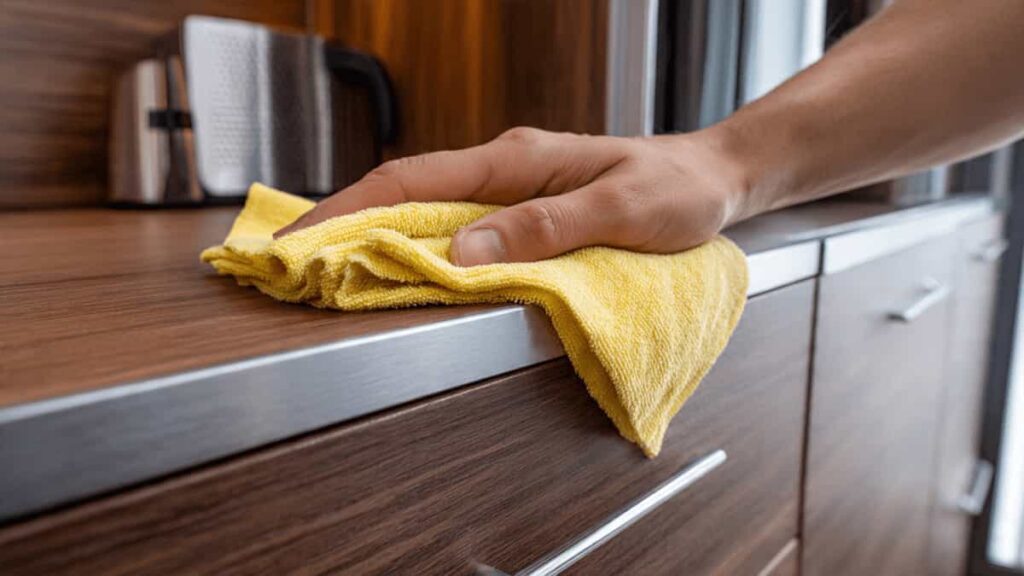
Metal cabinets, particularly aluminum, are popular in modern and industrial-style kitchens due to their durability and resistance to moisture. However, they are prone to showing fingerprints and water spots.
Cleaning Method:
- Gentle Solution: Mix a few drops of mild dish soap with warm water.
- Technique: Use a soft microfiber cloth (never steel wool or abrasive pads) to wipe down the surfaces. Rinse the cloth with clean water and wipe again to remove any soap residue, which can dull the finish over time.
- Drying: Immediately dry with a soft, dry cloth to prevent water spots.
- Avoid: Do not use vinegar, bleach, or citrus-based cleaners on aluminum, as the acidity can cause pitting or discoloration of the metal finish.
2. uPVC (PVC) Cabinets
uPVC cabinets are a favorite for high-moisture areas because they are waterproof, easy to maintain, and resistant to warping. They are often found in rental properties and modern builds.
Cleaning Method:
- Daily Wipe: A simple solution of warm water and dish soap is usually sufficient.
- Tough Stains: For grease or stubborn dirt, isopropyl alcohol (rubbing alcohol) diluted with water (50/50 mix) is safe for uPVC. It cuts through grease without scratching the vinyl.
- Technique: Use a non-abrasive sponge or microfiber cloth. Avoid using cream cleaners or scouring powders, as they can scratch the smooth surface.
- The Seal: Pay attention to the edges and seals. While the boards are waterproof, moisture seeping into the seams can lead to mold over time, so ensure edges are kept dry.
3. Wood Polished Finished Cabinets
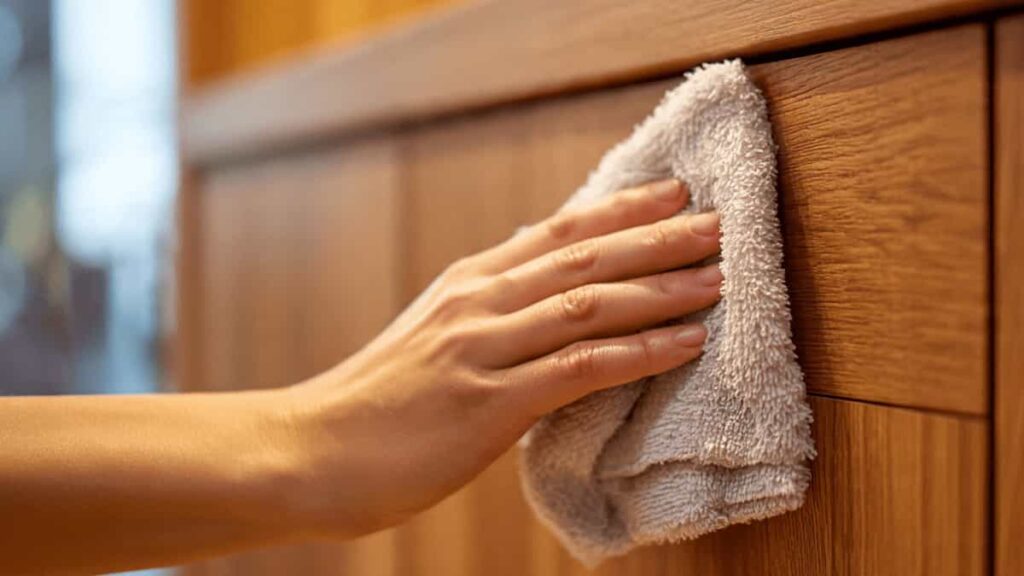
Polished wood cabinets (lacquer, varnish, or polyurethane finishes) offer a classic, luxurious look. They are sensitive to moisture and harsh chemicals, which can penetrate the finish and cause the wood to swell or the polish to cloud.
Cleaning Method:
- Dusting: Start with a soft, dry microfiber cloth to remove loose dust. Dust particles can act like sandpaper if you try to wipe them with a wet cloth.
- The Cleaner: Use a specialized wood cleaner or a mixture of water and a drop of dish soap. Wring your cloth out extremely well—it should be damp, not wet.
- Technique: Wipe in the direction of the wood grain. Never spray cleaner directly onto the cabinets; spray it onto your cloth first to prevent liquid from seeping into seams or edges.
- Finishing: Immediately buff the surface with a dry cloth to bring out the shine. Avoid wax-based polishes that contain silicone, as they can build up a cloudy residue that is difficult to remove.
4. Wooden Laminated Cabinets
Laminate cabinets consist of a particleboard core covered with a plastic or paper-based veneer. While they are generally durable and affordable, the edges are vulnerable to moisture. If water seeps into the seams, the particleboard can swell and bubble permanently.
Cleaning Method:
- Grease Cutter: Laminate is excellent at resisting grease. A mixture of white vinegar and water (1:1 ratio) or a simple degreasing dish soap solution works wonders.
- Technique: Use a sponge or soft cloth to clean the surfaces. Pay close attention to the areas around the handles and the bottom edges of the cabinet doors, where grime tends to build up.
- Critical Step: Do not let the liquid sit on the surface. Wipe away the cleaning solution immediately with a dry cloth, focusing on the edges of the doors to ensure no moisture seeps into the core.
How to Remove Grease from Kitchen Cabinets (Works for All Materials)
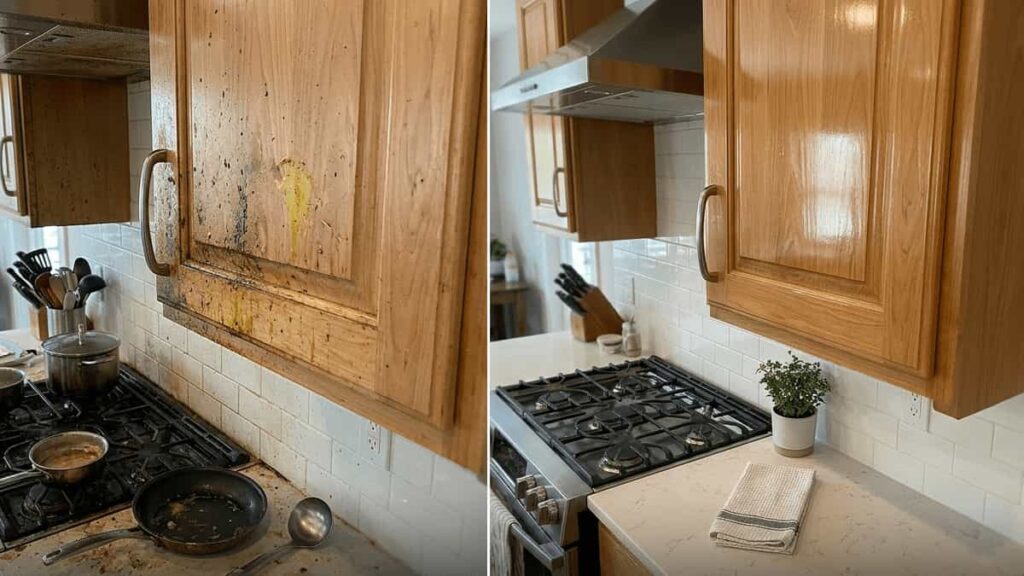
Grease buildup is the number one enemy of kitchen cabinets, especially near the stove or oven. No matter what material your cabinets are made of, here’s a safe and effective grease removal routine:
- Step 1 – Warm Water & Dish Soap: Mix a few drops of mild dish soap with warm water. Dip a soft microfiber cloth into the solution and wring it out well so it’s damp, not dripping.
- Step 2 – Wipe Away Grease: Gently scrub the greasy areas. The dish soap will break down the grease without damaging most finishes.
- Step 3 – Heavy Grease: For stubborn, sticky buildup, use a solution of equal parts white vinegar and water. Vinegar is a natural degreaser, but do not use it on aluminum cabinets (it can cause corrosion). Test on a small hidden area first if you’re unsure.
- Step 4 – Rinse & Dry: After cleaning, wipe with a clean, damp cloth to remove any soap or vinegar residue. Immediately dry with a soft towel to prevent streaks or moisture damage.
Pro Tip: For cabinets near the stove, repeat this process weekly to prevent grease from hardening and becoming difficult to remove.
How Often Should You Clean Kitchen Cabinets?
Consistency keeps cabinets looking new. Follow this simple schedule:
| Frequency | Task |
|---|---|
| Daily | Quickly wipe down cabinet fronts near the stove or sink to remove fresh splatters and steam. |
| Weekly | Clean all cabinet handles, knobs, and high-touch areas. Do a spot check for grease buildup. |
| Monthly | Perform a full wipe-down of all cabinet exteriors using the appropriate cleaning method for your material. |
| Every 6 months | Empty cabinets and deep-clean the interiors, shelves, and corners. Vacuum crumbs and wipe with a mild cleaner. |
General Tips for All Cabinet Types
Regardless of the material, consistency is key. Here are a few universal tips to keep your kitchen looking fresh:
Tackle Grease Immediately: Grease is the biggest enemy of kitchen cabinets. If you notice a film building up near the stove, clean it right away. Allowing grease to harden makes it much harder to remove later.
Use the Right Tools: Always opt for microfiber cloths or soft sponges. Steel wool, scouring pads, and stiff-bristled brushes will scratch every material listed above.
Hardware Matters: Don’t forget the handles and knobs. These are the most touched surfaces in the kitchen. Remove them occasionally to clean behind them, using a Q-tip or soft brush to get into crevices.
Keeping Your Home in Top Shape
Cleaning your cabinets is just one part of maintaining a beautiful and functional home. To help you stay on top of your home maintenance schedule, check out our guide on Seasonal Home Maintenance Checklists. It’s the perfect companion to ensure you never miss a chore, from deep cleaning to essential repairs.
If you are planning a larger refresh, such as updating your kitchen flooring or backsplash during a remodel, our detailed guide on Tiles covers everything you need to know about selecting and maintaining the right surfaces for your space.
For those who like to combine efficiency with organization, having the right tools for any job—including cleaning—is essential. You might find our article on Essential Hand Tools for Gardening useful as well, as many of the principles of tool care and proper technique apply to home maintenance tasks beyond the garden.
By following these material-specific care instructions and maintaining a regular cleaning routine, you can ensure your kitchen cabinets remain a stunning focal point in your home for years to come.
You May Like to Read
 Affresh vs Tide vs OxiClean: Which Washing Machine Cleaner Works Best?